The Help Blog Subscribe
The wonders of screen shots on a Mac

So, you all know how to take a screen shot (or a 'print screen') on your Mac don't you?
![]()
![]()
![]()
So by holding cmd, shift and pressing the 3 key you take a full screen shot. This is then saved as a PNG file to your desktop (or if you have setup Dropbox to save screenshots, it will go there).
But did you know you can do much, much more with screen shots?
Selecting just a part of the screen
![]()
![]()
![]()
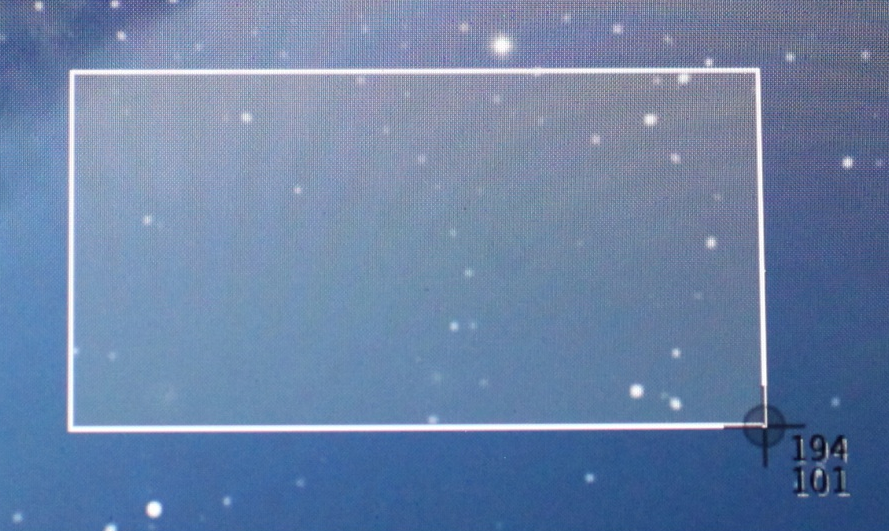
By holding CMD and Shift and tapping 4 you get 'crosshairs' which allow you to select a portion of the screen

Furthermore, if you do the above and then hit the space key…

Your cursor changes to this camera icon
![]()
This allows you to take a snap of a window, ignoring all other windows around it, even if they are partially covering the windows you are capturing.
In addition…
By adding in the Control key…

to any of the above (e.g. CMD, SHIFT, CTRL & 3) the image is added to your clipboard, meaning that you can take a screen snap and then paste into Pages, Keynote, email, etc…
If you are using Leopard or newer…
All of the following are preformed after you have held CMD, SHIFT & 4 but still have the left mouse button held down
1. SPACE

This allows you to move the selected area around the screen while still maintaining the proportions
2. SHIFT
![]()
This allows you to lock either the vertical or horizontal size when selecting an area of the screen
3. OPTION

By tapping Option you can resize from the center point of the selection.
Thats it! Enjoy taking snaps of your screen!
Author

Paul Wheatley
 Dropbox Storage Issues – Selective Sync
 Fusion VM import woes
 Un-Windows 8 Your PC
 Sonos and Spotify Stop Talking…
 Ejecting a DVD from a Mac device