Review Subscribe
Datacolor SpyderX Pro – a 3 Month Test

A long term test of the SpyderX Pro over 3 months and I have to say...I'm impressed.
Safe to say, in the past 15 to 20 years I don’t think there is a make of screen colorimeter which I haven’t bought or at least tried for a period. And in the main I’ve always had decent results and definitely see them as essential tools for me as a Professional Photographer.
Screen calibration is useful for the amateur as well. More often than not, digital cameras have a tendency to create a hue or colour bias when they shoot in certain lights. My Canon 1DS MKII (expensive and amazing as it was) tended to overstress the greens in the image and my 5D MKIII had a touch more yellow than I’d like in shots. Getting a consistent and corrected output on your screen will improve your images and your eye for colour.

So I was given the Datacolor Spyder 5 Express to review two years ago ( https://www.britishtechnetwork.com/review/spyder-5-express-an-amateurs-review by Ian Lewis of BTN) and at the time it was a great price and performed beautifully. I know Ian and I are both still using this quite happily and if you have one for a single screen, then staying with it won’t be a bad choice. But the issues I’ve always had with multiple screens is where the SpyderX Pro sets itself apart. I’ve been testing this unit now for 3 months, so feel that I have a proper feel for its uses.

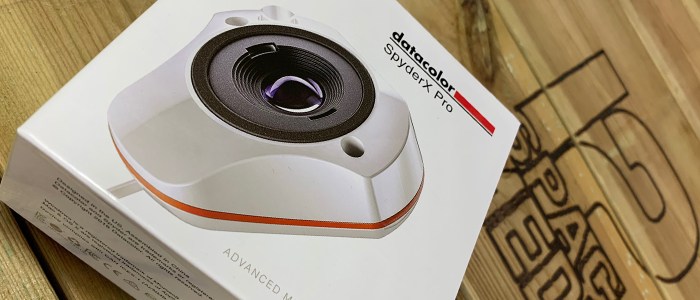
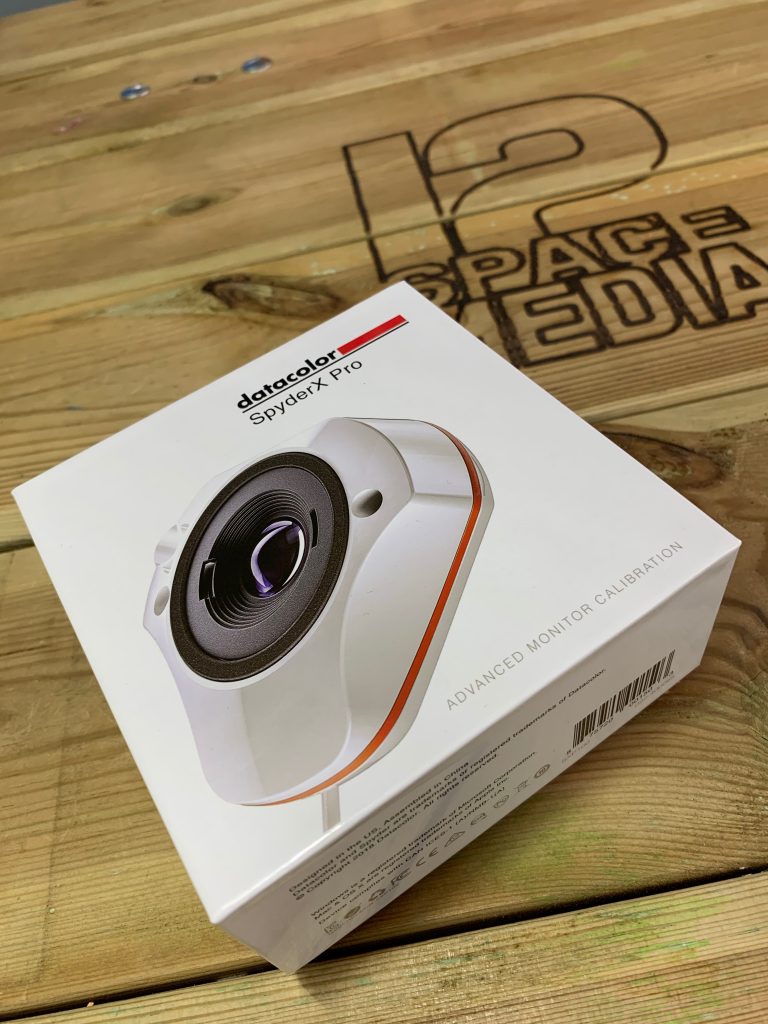
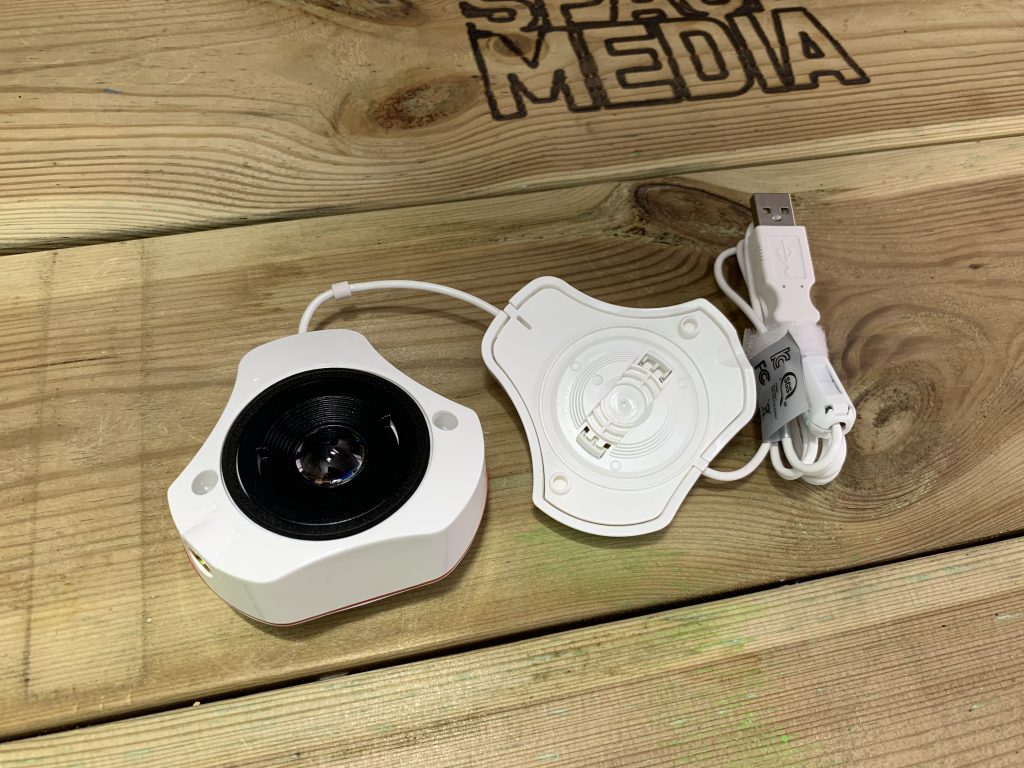
Out of the box, the SpyderX Pro is a nice, solid product with a quality feel. There is a weight to it that makes you feel like your money is well spent. The protection cap for the lens assembly doubles as the counterweight when you are positioning the unit on the screen and you have just over 1.6 metres of USB cable to attached to your machine. This is about the industry standard but if you have a floor mounted computer or if it’s to one side of your desk, then you may need an extension as the cable needs to come over the back of the top of your monitor, so you’re using 1 metre of cable before you even start down the back of the desk. I’ve tested with and without a USB Extension and there is zero difference in performance.
On startup, the software warns you to ‘Warm Up’ your monitor before asking you some simple questions about the controls which your monitor possess and the type of display. This is well worth taking heed of, as this sets up the monitor for more consistent calibration across multiple monitors.

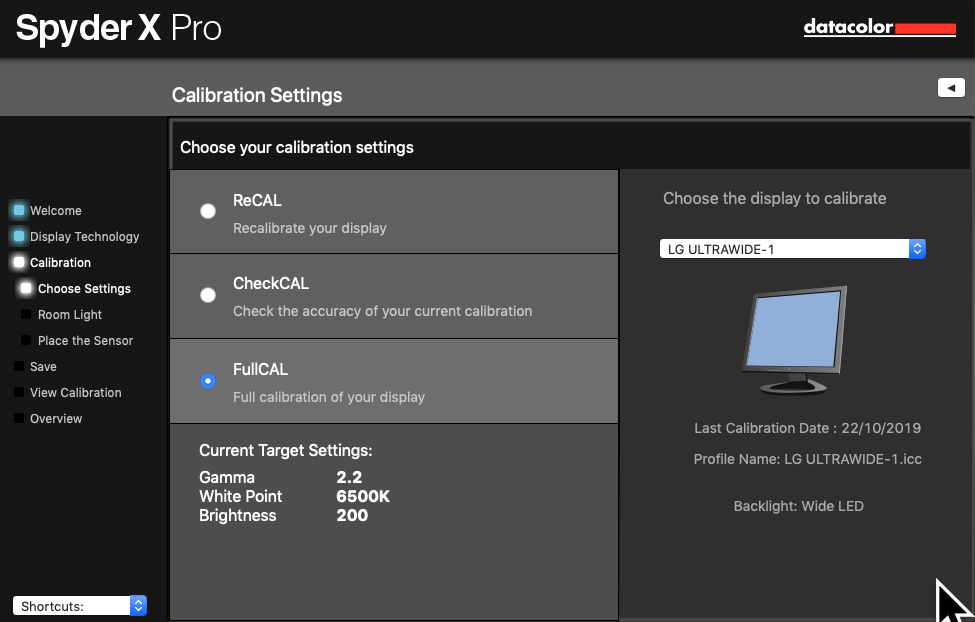
The options for calibration in the Pro model are excellent. You can do a ‘FullCal’ or if you‘ve already done a calibration and want to do your monthly check there is a ‘ReCal’ Option as well, which takes less than 2 mins to complete. The ‘CheckCal’ option is just a running test if your monitor is in need of the other two options.
The next step to set up on FullCal, is to measure the ambient light in which you are editing. The SpyderX has a sensor on the backside of the lens assembly for doing this. If you’re in a very bright environment, then the level of the screen will be adjusted to compensate for the fact that your eye is taking in so much ambient light. I tend to work with the light high up and behind me when I’m on the screens at my office which means there is very little ambient light ahead taking away from the image on the screens in front of me. I found this really useful and the change in brightness on the monitors is noticeable with different ambient lights.
Calibration starts when you’ve hung the lens unit over the guide point on the screen. The unit can sometimes hang askew to the monitor but tilting the screen back can solve this or using a length of ‘magic tape’ and lightly applying over the unit will help. But beware taping it down hard on the screen as this can cause discolouration of the image.
Here’s where the separation comes with the SpyderX Pro from other units though. Once the calibration is complete, the software will ask you to access the brightness controls on your monitor and for you to adjust them so that a sliding indicator has the ‘sweet spot’ of the indicator between two key points. This is essential when looking to match your monitors, especially if they are of different makes/models
I’ve used two monitors for work for as long as I can remember and whilst I’ve calibrated both monitors and the result have been adequate, I would never had said that those monitors were calibrated IDENTICALLY. This is the outstanding benefit of the SpyderX Pro. Despite my monitors being different and of differing ages, they are calibrated identically. This has never happened with other devices including the Spyder5 Express. The ‘Elite’ version of this unit allows ‘Target Mode’ which allows identical mapping of calibration throughout multiple computers which may be useful in large commercial studios or printers but for a half-dozen people, the Pro version will work just fine.
In summary. This unit is the best calibration device I’ve used so far. It’s accurate and accurate across multiple platforms and monitors. The price is in line with other makes available depending on your internet searches with the Pro version at around £158 and the Elite version will rush you £246. Yes it’s not cheap but the value for money is apparent.
Author

Ewen Rankin
 The Ninja Foodi
 Rii RK100 Keyboard
 Duke Nukem World Tour
 2 Quid Wireless Charger
 Streets of Rage 4